Fantasy Loseball
Some days are worse than others, especially when you’re in a fantasy football league. And, this past Sunday Matthew had one of the worst days. He has a great team, or so he claims, but when put to the test on Sunday he wasn’t able to follow through which led to his need for Gluten Free Empanadas. I would go into greater detail about his roster and his loss, but I’ve found that as someone who has no stake in the games I don’t really care that much so I’m sure the same goes for you!
Now, guys, I have to be honest and I know Matthew will be upset I said this, but I’m really glad he lost on Sunday because his loss led to this incredible recipe! Matthew did happen to specify he wanted to feel like he was in Tijuana so maybe I just channeled my inner Tijuana really well or I’m an incredible cook ?. Either way, do yourself a favor and make these as soon as you finish reading the post! 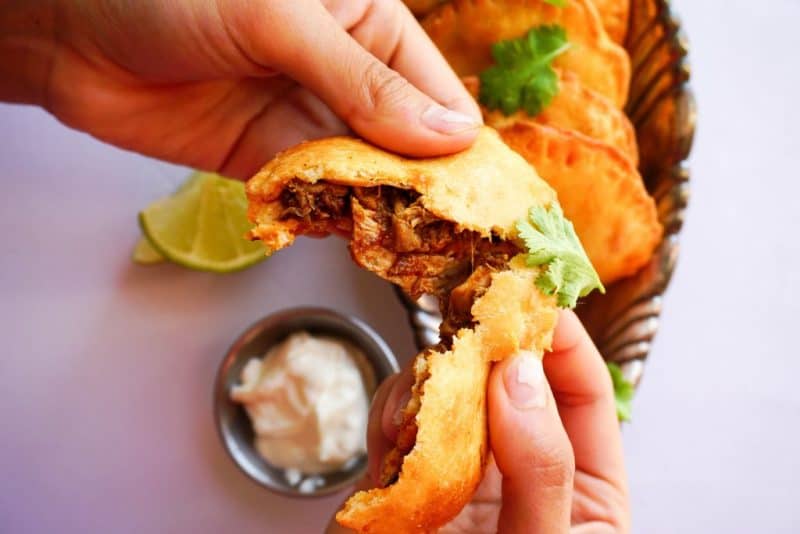
The Crust
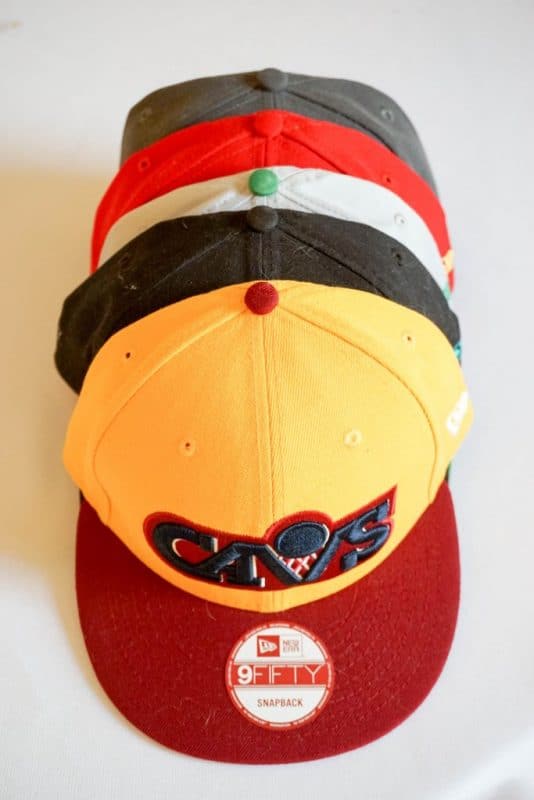
I’m sure you guys are familiar with fat head crust – it is one of a kind after all! Every time I make it my mind is blown that mozzarella cheese, cream cheese and a little almond flour can make a doughy, crispy, perfect crust. Seriously though, I don’t believe in god, but if there is ever a time he exists it’s when my fat head crust comes out of the oven! So, is your crust made yet?? GREAT! You’re already half way done. As you can see in our video we used a wine bottle to roll it out. I got Matt a special Indian rolling pin (that I went to three different stores to find), but he thought it would be best to leave it in California when he moved to Philadelphia. Not to worry though, he brought the essentials, including five flat brimmed hats… classic. So, no rolling pin in the house? That’s alright. Just grab the wine bottle – we know you have one!
Fillings
No. Not the fillings that go in your teeth. We are talking about empanada fillings! What I chose to use for the love of my life who was in severe distress from his fantasy loss (wearing one of the essential flat brimmed hats) was shredded adobo chicken and seasoned ground beef. And, YUM is right!! We have a great Mexican shredded chicken recipe that you should try if you want to take these empanadas to the next level!
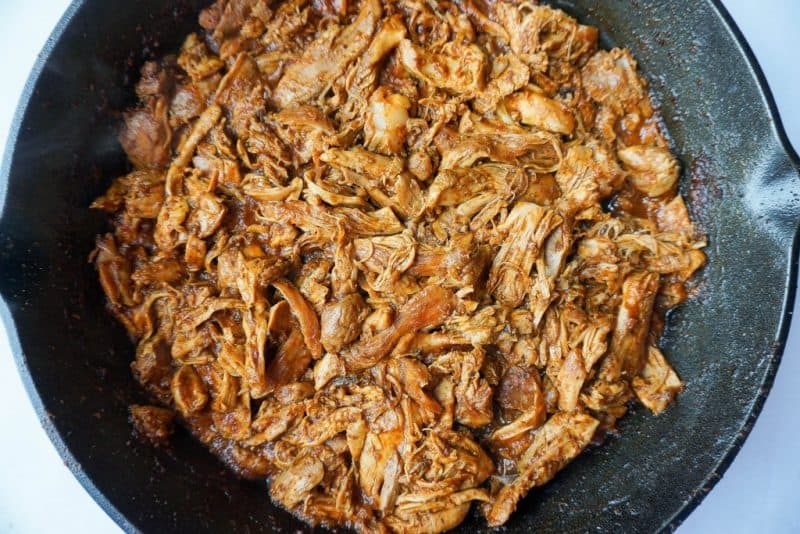
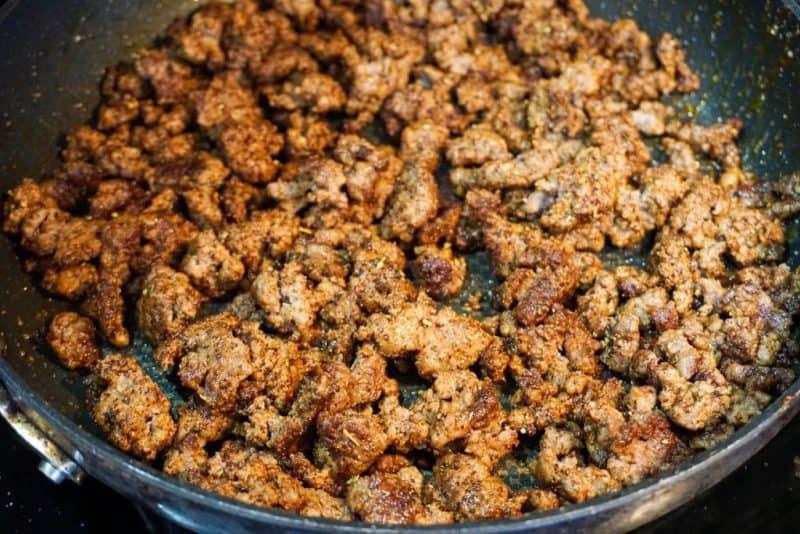
You can really do any filling that you’re in the mood for. You can do veggies, three-cheese, tofu, or even a dessert one – the versatility of the this recipe makes it one of my favorites! Once you’ve made your fat head crust and chosen your filling all that is left to do is make the dough cut outs, fill these bad boys and bake until golden brown. It’s as simple as that, but if you need more of a play by play check out our video above! Baking Tip: One of our best kitchen purchases was a Silpat Mat (seen in the video)! We use it for just about everything that goes into the oven from cookies to pizzas and we highly recommend it! It also keeps your pans from needing any grease and is super quick clean up! 

Gluten Free Empanadas
Ingredients:
Fat Head Crust
- 1 1/2 cup Shredded mozzarella cheese
- 3/4 cup Almond Flour
- 1 oz Cream Cheese
- 1 large Egg
Fillings
- 3 oz ground beef
- 3 oz shredded chicken
Instructions:
Fat Head Crust
- Put shredded mozzarella into a microwave safe bowl.
- Cut cream cheese into 4-5 pieces and place on top of mozzarella cheese. Microwave for thirty seconds.
- Remove from microwave, stir, and microwave for another thirty seconds.
- Stir one more time and then add in almond flour while cheese is still hot. Combine as well as possible (if it's not all incorporated don't worry just yet!).
- Add egg and stir. To better incorporate everything use your hands to knead it together - it should have formed into a dough (but will still be sticky).
- Once the dough is combined and consistent place on greased surface or nonstick silpat mat (used in our video). Place a piece of parchment paper on top and roll out to thinness of liking.
- Using cookie cutter (or wine glass) to make 12-14 circles in the dough. You might only be able to make 6-8 circles and have to re-roll out the dough for the rest (as seen in our video).
Fillings
- Place 6-8 cut outs onto a nonstick baking pan and layer on filling (we did three beef and three chicken).
- Place second circle on top and press down the edges to seal. A good tactic we used is to flip once you have sealed on one side and then seal on the other.
- OPTIONAL: Use fork around the sealed edges for a fun look (seen in our video).
- Once fully sealed place into a 350 degree oven for 18-20 minutes. Keep on eye on them and watch for them to puff up a little and turn golden brown!
